Field note
Location Sound for Indie Shoots in India: The Complete Practical Guide
Audiences forgive a soft image. They never forgive bad audio. A filmmaker-to-filmmaker guide to mics, recorders, placement, Indian location realities and the post workflow, with real INR budgets.
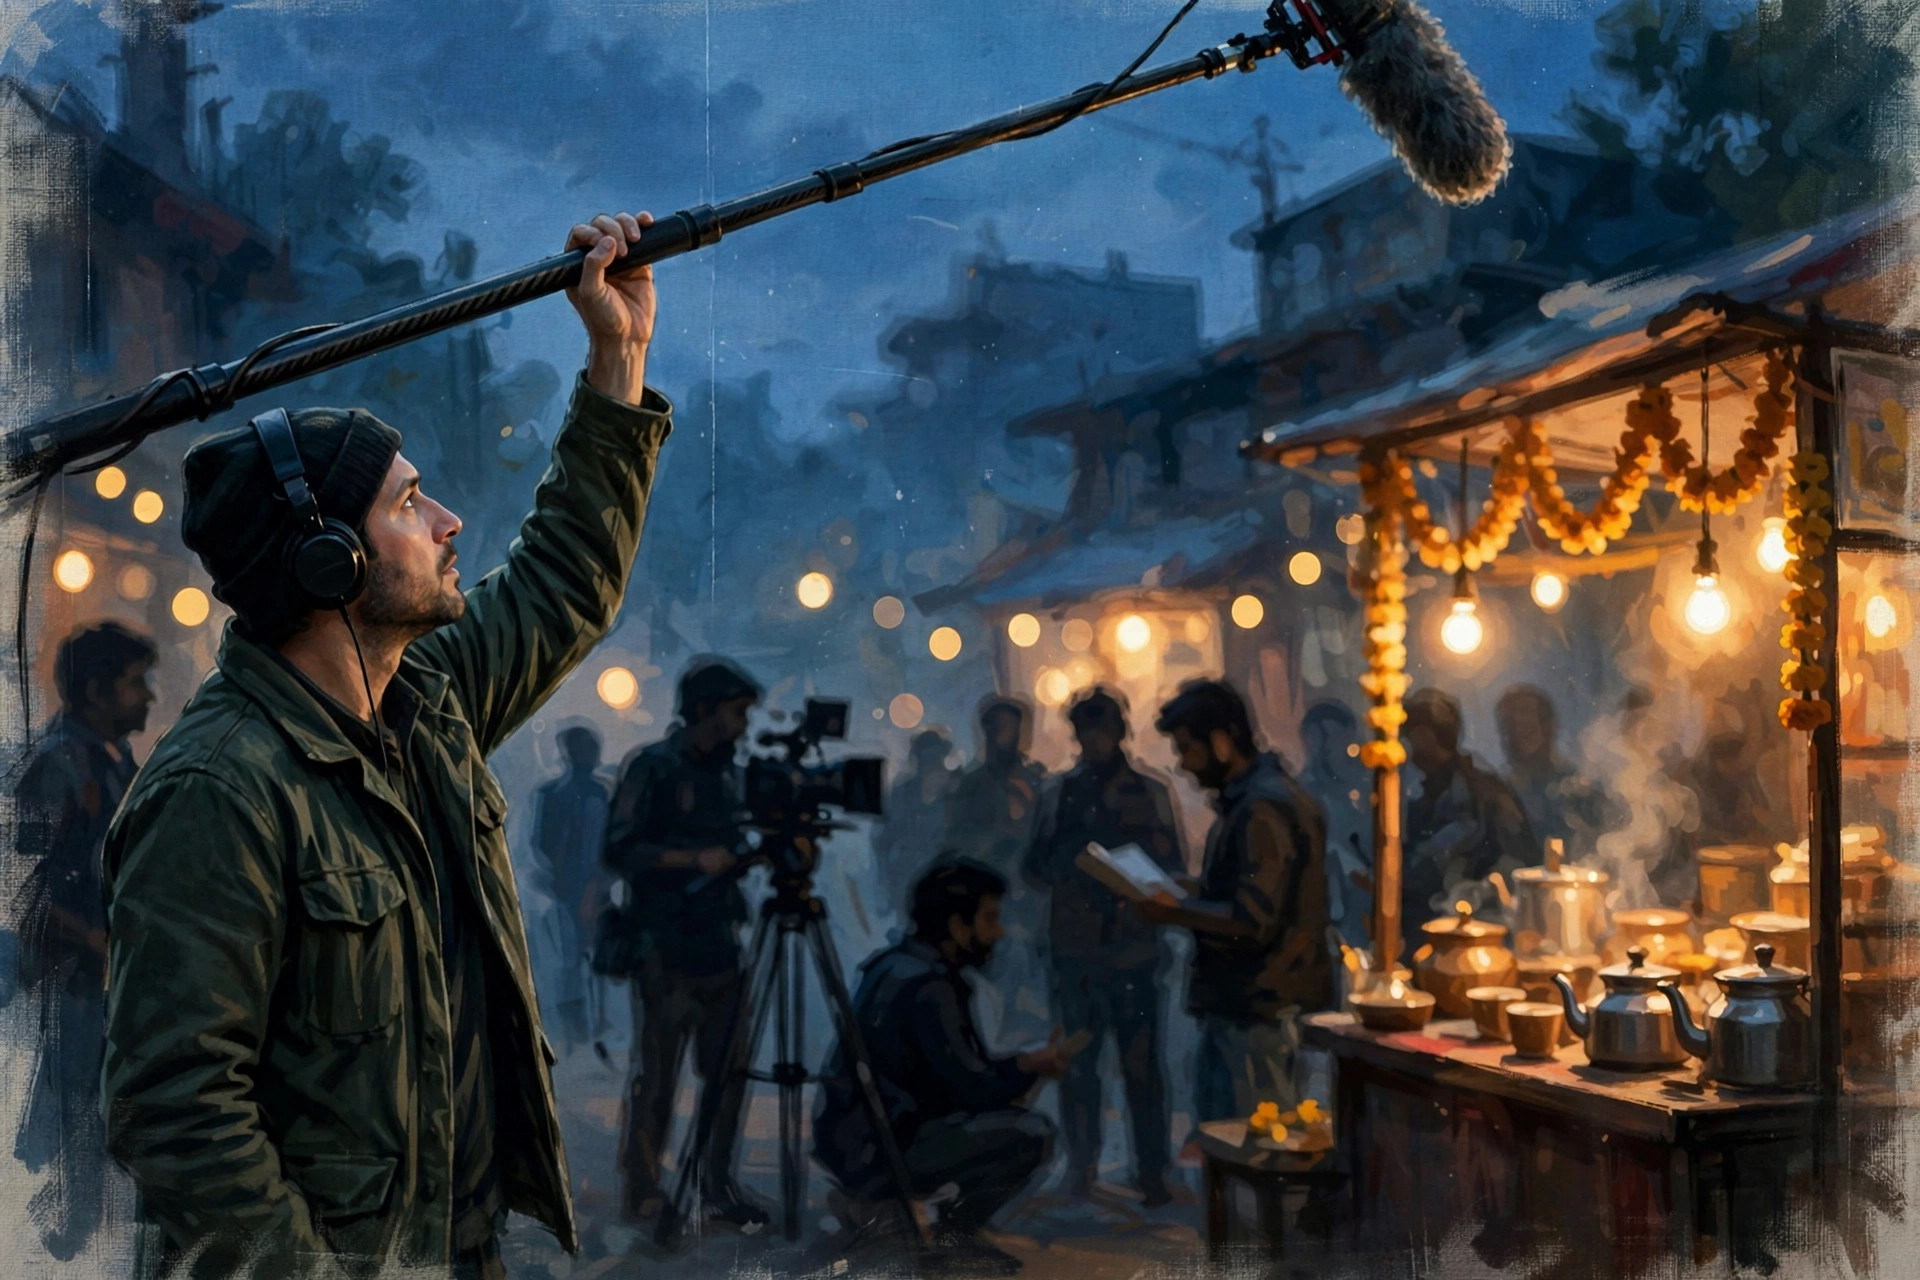
Audiences forgive a soft image. They never forgive bad audio. A slightly shaky frame still tells the story. A line of dialogue buried under traffic noise kills it. This is the first thing working filmmakers learn and the last thing beginners budget for. This guide fixes that. It covers the full chain from mic to final mix, priced in rupees, built for Indian locations.
What location sound actually is
Location sound is every sound you record on set: dialogue, ambient atmosphere, room tone and wild lines. It is not the music. It is not the final mix. It is the raw material everything else is built from. Get it clean and post-production is a joy. Get it dirty and no plugin on earth fully saves it.
The chain has four links: the microphone, the recorder, the placement and the monitoring. A weakness in any one link degrades the whole chain. A ₹20,000 mic placed badly sounds worse than a ₹2,000 mic placed well. Remember that sentence. It will save you money.
The microphones: what each one does
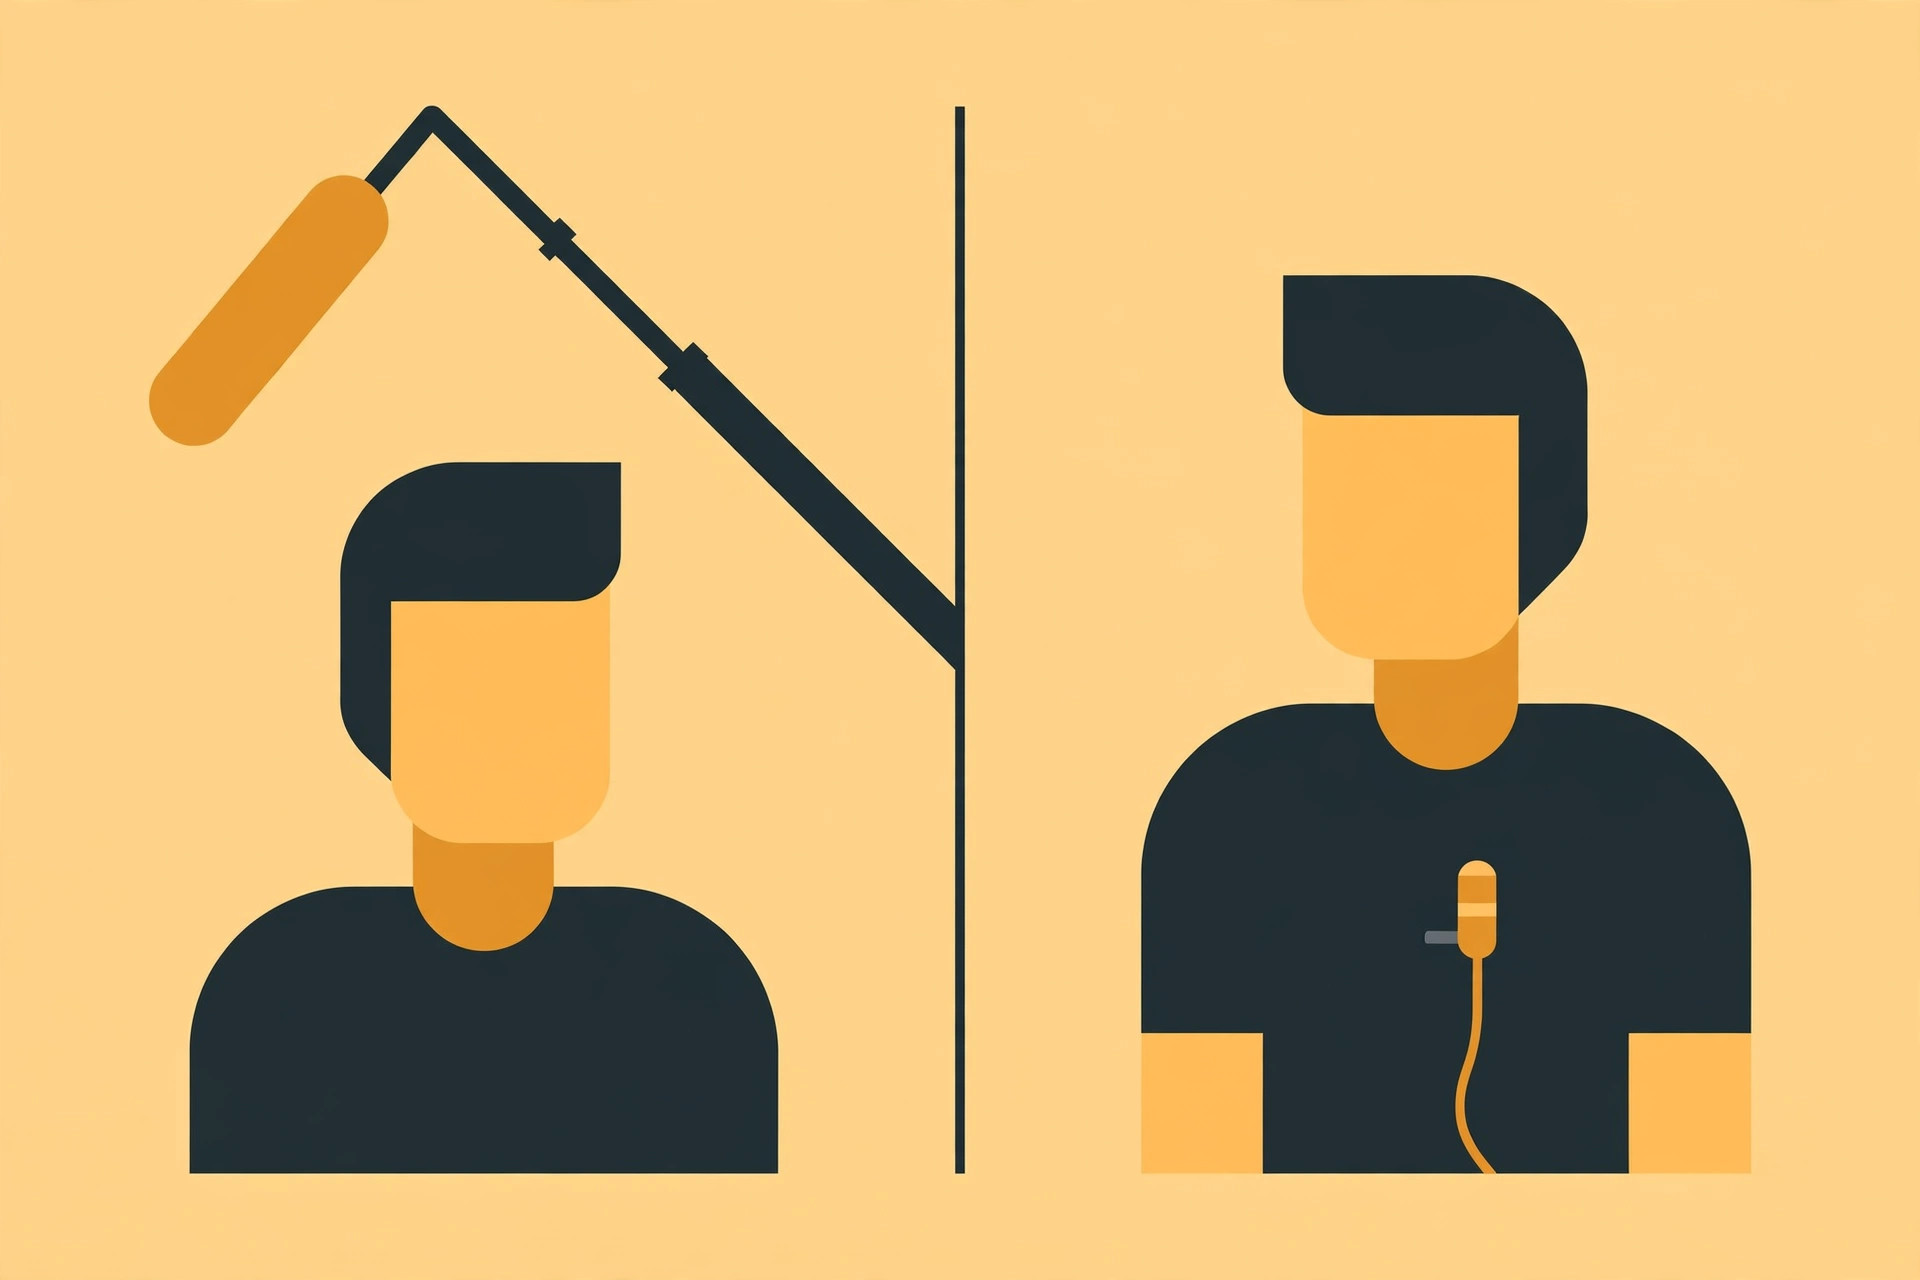
Shotgun mic. Long, directional, rejects sound from the sides. This is your primary dialogue mic on a boom pole. It points at the actor’s mouth from just out of frame. Indicative band: ₹15,000 to ₹25,000 for a serious one, ₹5,000 to ₹8,000 for an on-camera mini shotgun that gets you started.
Lavalier (lav) mic. Tiny mic clipped to clothing, usually hidden. It stays close to the mouth no matter how the actor moves. Every indie filmmaker should own at least one wired lav before buying anything else. Indicative band: ₹1,000 to ₹2,000 for a wired one that punches far above its price. Wireless systems start around ₹18,000.
On-camera mic. Better than the camera’s built-in mic, worse than everything else. Useful as a scratch track for syncing in post and as emergency backup. Not a dialogue solution.
The rule: one good mic close to the mouth beats three expensive mics far away. Budget for proximity first and brand names second.
Recorder vs camera audio
Your camera records audio. It does it badly. Camera preamps are noisy, gain controls are buried in menus and you cannot ride levels during a take without shaking the frame.
A dedicated recorder (the Zoom H1n, H4n and H5 range or the Tascam DR-40X range) has cleaner preamps, proper XLR inputs and physical gain knobs you can ride during a take. Indicative band: ₹8,000 to ₹22,000 depending on model.
The workflow: record dialogue to the recorder, record a scratch track to the camera, sync them in post by waveform. Every major edit software does this automatically now. The extra five minutes in post buys you dramatically cleaner dialogue.
If you truly cannot afford a recorder yet, record to the camera but get the mic close and monitor with headphones. A close mic into a camera beats a distant mic into a recorder.
Placement: the one-meter rule
Here is the single most valuable paragraph in this guide. Sound follows the inverse square law. Double the distance and you get one quarter of the signal. Halve the distance and you get four times the signal. Every centimeter closer is free quality.
The one-meter rule: keep the mic within one meter of the actor’s mouth whenever physically possible. On a boom, that means the pole operator’s arms will ache. That is the job. For lavs, clip it 15 to 20 cm below the chin, centered on the chest. Test for clothing rustle by having the actor move, turn and sit before you roll.
Angle matters too. A shotgun mic rejects best from the sides and rear. Point the side of the mic at the noise source (the road, the generator) and the front at the actor. You are steering rejection, not just aiming pickup.
Indian location realities
This is the section the American guides skip. Indian locations have a specific acoustic personality. Plan for it or suffer.
Traffic. The defining sound of Indian exteriors. Scout with your ears, not just your eyes. Visit the location at the same hour you plan to shoot. A lane that is silent at 7 AM roars at 10 AM. Shoot dialogue-heavy scenes early morning or late evening when traffic dips.
Generators and inverters. The moment the power cuts (and it will), someone fires up a generator. Find out where it sits and get the mic pointed away from it. Better: negotiate a pause during takes. Inverter hum (that 50 Hz buzz) is almost impossible to remove cleanly. Kill it at the source. Switch off the inverter for the take if you can.
Weddings, temples and loudspeakers. In many Indian neighborhoods, a celebration next door is not a possibility but a probability. Ask around before the shoot day. If a wedding is scheduled nearby, change your date or your location. No windscreen defeats a brass band at full volume.
Crowds. A curious crowd gathers at every Indian outdoor shoot. Assign one crew member as crowd manager. Their only job is keeping a quiet perimeter. This person is as important as the boom operator.
Power cuts. They corrupt takes and they reset digital recorders. Run recorders on fresh batteries even when mains power is available. Carry spares.
Wind protection
Wind is the fastest way to ruin outdoor audio. A foam windshield handles light breeze. A furry windjammer (the “dead cat”) handles real wind. If you shoot exteriors at all, a windjammer is mandatory, not optional. Indicative band: ₹1,500 to ₹4,000. It is the cheapest dramatic upgrade in all of location sound.
Positioning helps too. Put the actor’s body between the wind and the mic. Use buildings and vehicles as windbreaks. And if the wind wins, wait. The shot can wait ten minutes. Bad audio cannot be fixed in ten minutes.
The room tone ritual
Room tone is 30 to 60 seconds of the location’s ambient silence, recorded with everyone holding still. You need it because no location is ever truly silent. Your dialogue edits will have tiny gaps that need filling with matching ambience.
The ritual: at the end of each setup, before anyone moves, the recordist announces “room tone.” Everyone freezes for 30 seconds. You record. Do it at every location and every major lighting change. Future-you in the edit will be grateful.
Monitoring: one person owns sound
Wear headphones. Always. The person holding the boom or managing the recorder wears closed-back headphones and listens to every take. If they hear a problem, they call it out immediately. Re-shooting a take costs two minutes. Discovering ruined audio in post costs the scene.
One person owns sound. Even on a three-person crew, one person is the sound recordist. They hold the boom or place the lavs. They wear the headphones. They have the authority to call “cut” for sound. A take with bad audio is not a take. Say it on set until everyone believes it.
The post workflow
1. Sync. Match recorder files to the camera scratch track. DaVinci Resolve, Premiere Pro and even free tools do this automatically by waveform.
2. Dialogue edit. Cut between takes for performance, then smooth the transitions. This is where room tone earns its keep: lay it under every cut so the background stays continuous.
3. Cleanup. Remove hums, hisses and clicks with noise reduction tools. Resolve’s Fairlight page and free tools like Audacity handle most of it. Rule: fix problems with editing before reaching for processing. A clean cut beats a processed one.
4. Mix. Balance dialogue, ambience, effects and music. Dialogue sits on top, always. If the audience strains to hear a line, the mix has failed no matter how beautiful everything else sounds.
5. ADR triage. Some lines will be unsalvageable. List them early. Re-record them in a quiet room with the actor watching the picture (ADR). Even indie films do this for a handful of lines. It is normal, not failure.
The starter kit
Ranked by impact per rupee:
- Wired lav mic (~₹1,500). The single best first purchase.
- Furry windjammer (~₹2,500). Mandatory for exteriors.
- Boom pole and shock mount (~₹5,000). Gets your shotgun where it needs to be.
- Portable recorder (~₹10,000). Clean preamps and real gain control.
- Closed-back headphones (~₹3,000). You cannot fix what you cannot hear.
- On-camera shotgun (~₹6,000). Scratch track and backup.
Total for a working starter kit: roughly ₹18,000 to ₹35,000. Less than a single decent lens. It will improve your films more than any lens ever could.
What next
On your next shoot, do three things differently. Put a lav on your lead actor even if you also boom. Record room tone at every setup. Give one person total authority over sound. Then listen to the difference in the edit. That difference is the sound of a film that feels professional.
Indicative prices are planning bands based on typical Indian retail in 2026, not quotes. Prices move by seller and season.